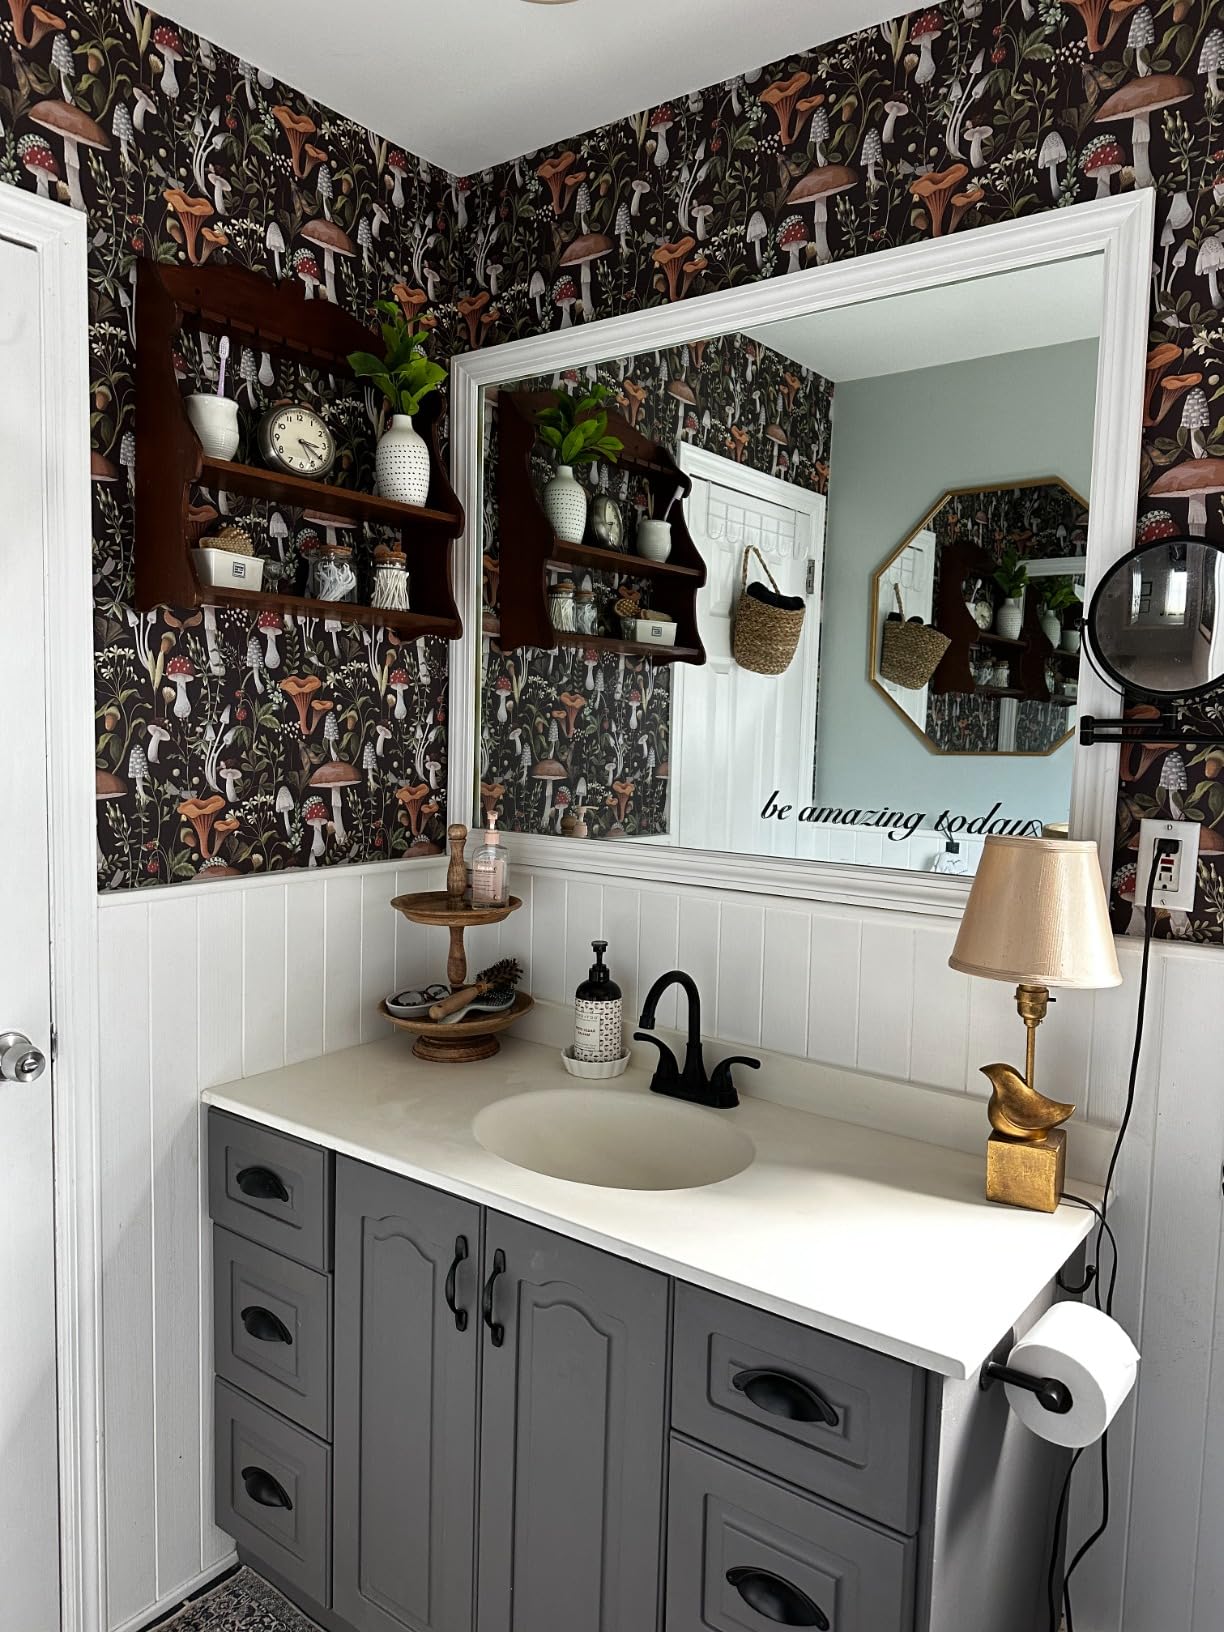
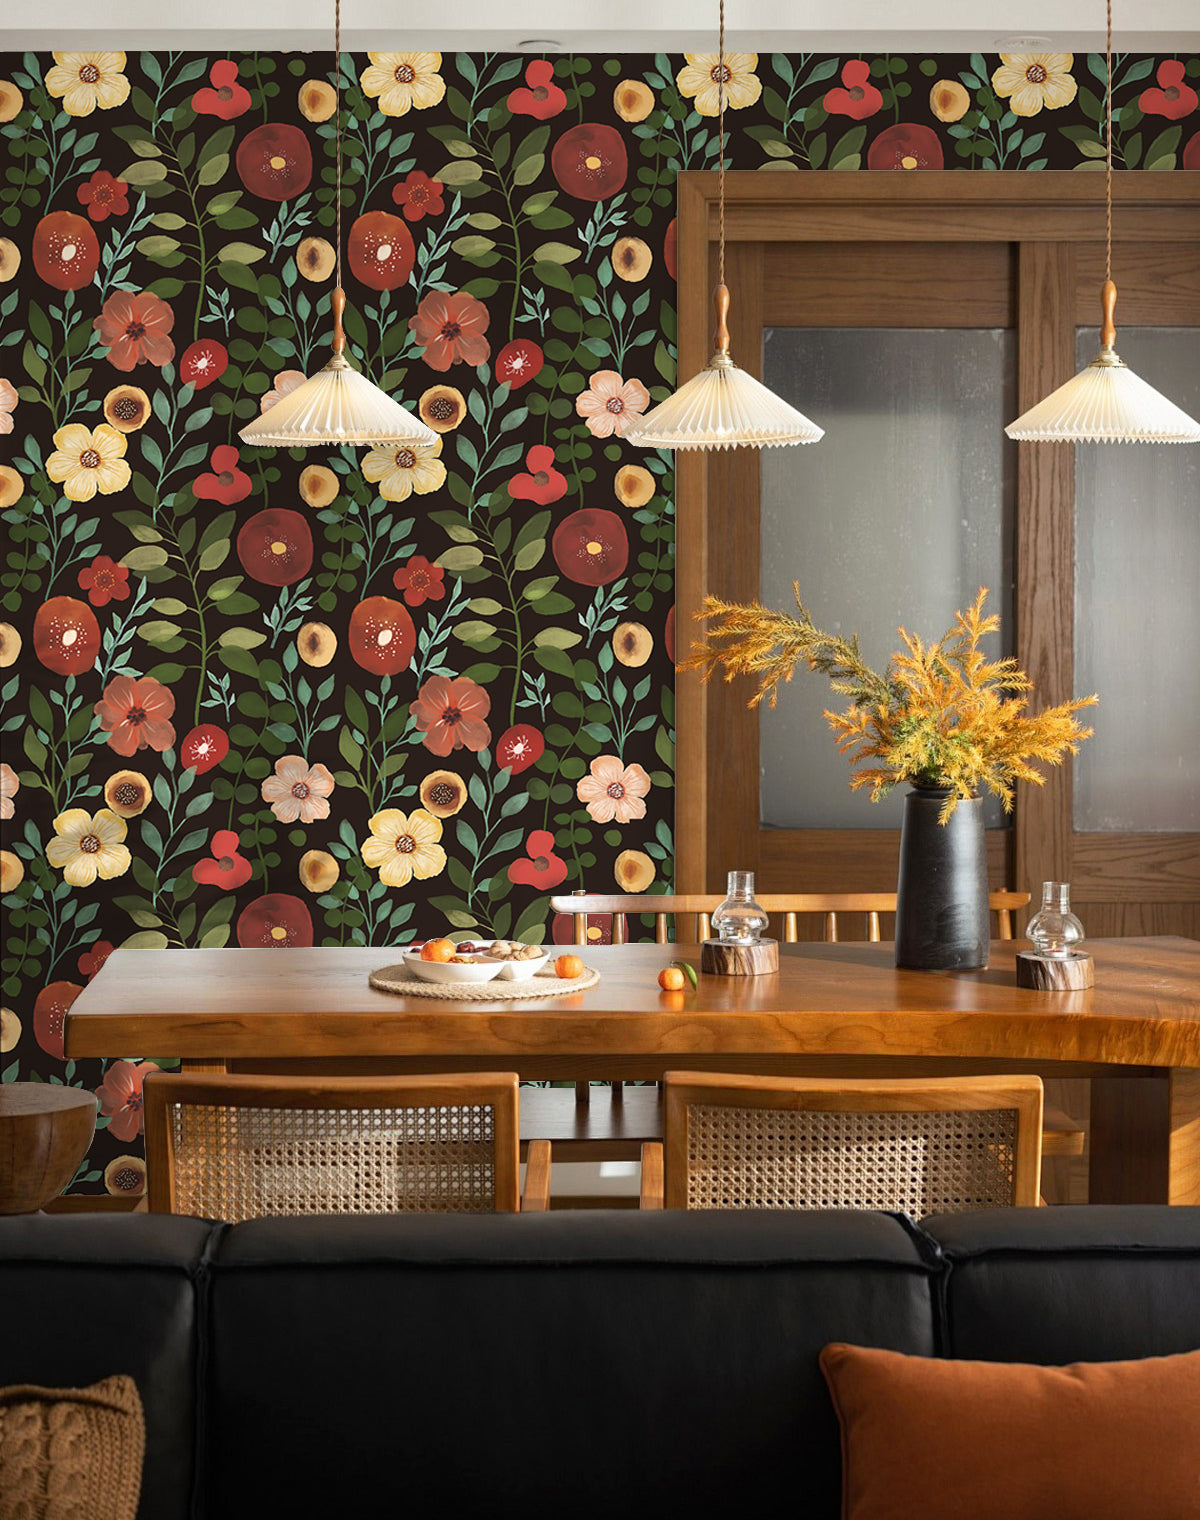
Stair risers: those humble vertical panels between your steps. Too often overlooked, they’re a blank canvas begging for transformation. What if I told you that with just a roll of peel-and-stick wallpaper, you could breathe life into your staircase—easily, affordably, and without leaving behind a renovation mess? It’s DIY magic at its finest.
Ready to transform those risers into a design feature that demands attention? Let’s break it down—step by step—while keeping things both stylish and stress-free.
Why Bother with Stair Risers? A Small Detail, A Huge Impact
Home design is all about the unexpected details—the pops of personality that make a space uniquely yours. Enter stair risers. Whether you prefer bold, attention-grabbing patterns or soft, understated textures, they offer an opportunity to elevate an entire room. It’s like accessorizing an outfit: the details make the difference.
Here’s why peel-and-stick wallpaper is the MVP for this project:
- Effortless to apply—It’s as easy as peel, stick, smooth.
- Temporary and versatile—Want a new look in six months? No problem. Just peel and replace.
- Endless options—Patterns, textures, bold colors—this is your playground.
- Budget-friendly impact—A small investment, a big transformation.
Your stairs may not be the star of the show right now, but they’re about to steal the spotlight.
Supplies: The Short Checklist
You don’t need a contractor or an arsenal of tools—just these simple items:
- Peel-and-stick wallpaper of your choice.
- Scissors or a utility knife.
- Measuring tape (precision is your friend).
- A straight edge or ruler.
- A smoothing tool (a credit card works too).
- Damp cloth, mild soap, and water (prep is everything).
Now, let’s dive in.
Step-by-Step: Transforming Your Stair Risers
Step 1: Choose the Perfect Wallpaper
Patterned? Textured? Subtle or daring? Take your time here—your choice sets the tone. If you’re unsure, start with neutrals for timeless appeal, or go bold if you’re ready to make a statement. Measure your risers and buy enough wallpaper to cover mistakes. Trust me, you’ll want that extra roll.
Step 2: Clean and Prep
Grab a damp cloth, mild soap, and clean each riser thoroughly. Dust, grease, or debris can sabotage adhesion. Make sure everything’s bone dry before proceeding.
Pro Tip: Recently painted stairs? Hold off—wait two weeks to let the paint cure fully.
Step 3: Measure Twice, Cut Once
Measure each riser individually because, surprise—stairs aren’t always perfectly uniform. Mark your measurements on the wallpaper’s backing, then cut carefully using scissors or a utility knife. Precision now means fewer headaches later.
Step 4: Apply the Wallpaper (Patience is Key)
Here’s where the magic happens:
- Start at one corner of the riser. Peel back a small section of the backing paper.
- Align the wallpaper at the edge and stick it down carefully. Don’t rush!
- Smooth it out as you go. Use your smoothing tool (or hands) to banish air bubbles and wrinkles. Work from the center outward.
- If things go awry—don’t panic! Peel it back gently and try again.
Peel. Stick. Smooth. Repeat. It’s oddly satisfying, isn’t it?
Step 5: Trim the Edges
Once the wallpaper is in place, use a straight edge and a sharp utility knife to trim any excess. Clean edges = a professional finish.
Step 6: Step Back and Admire
You did it. Those once-drab risers now exude charm, personality, and style. Your staircase is no longer a forgotten transition space—it’s a feature, a conversation starter.
Taking It Further: Styling Ideas
Want to take your design up another notch? Here’s some extra inspiration:
- Pattern Mixing: Alternate wallpaper designs for a quirky, eclectic look.
- Ombre Effect: Use varying shades of one color for a chic gradient effect.
- Textured Elegance: Faux wood, marble, or brick wallpapers add a realistic touch without the weight.
Final Thoughts: It’s Your Canvas
Transforming stair risers with peel-and-stick wallpaper is proof that great design doesn’t need to be expensive or complicated. It’s about creativity, a steady hand, and a willingness to reimagine the ordinary.
So, go ahead. Unroll that wallpaper. Breathe life into those risers. And when you’re done, step back, smile, and let your home remind you of this: sometimes, the smallest projects make the biggest difference.
Have questions, ideas, or your own DIY story to share? Drop a comment below—I’d love to hear how you’re transforming your space!
Ready, set, stick! 🚀


