Let’s be honest: hanging unpasted wallpaper is not for the faint of heart. It’s a task that demands precision, patience, and a touch of artistry. But here’s the thing—when done right, the results are nothing short of transformative. Imagine stepping back and seeing a wall that doesn’t just look good, but feels like it was pulled straight from the pages of a design magazine. Ready to take on the challenge? Let’s dive in.
Why Unpasted Wallpaper?
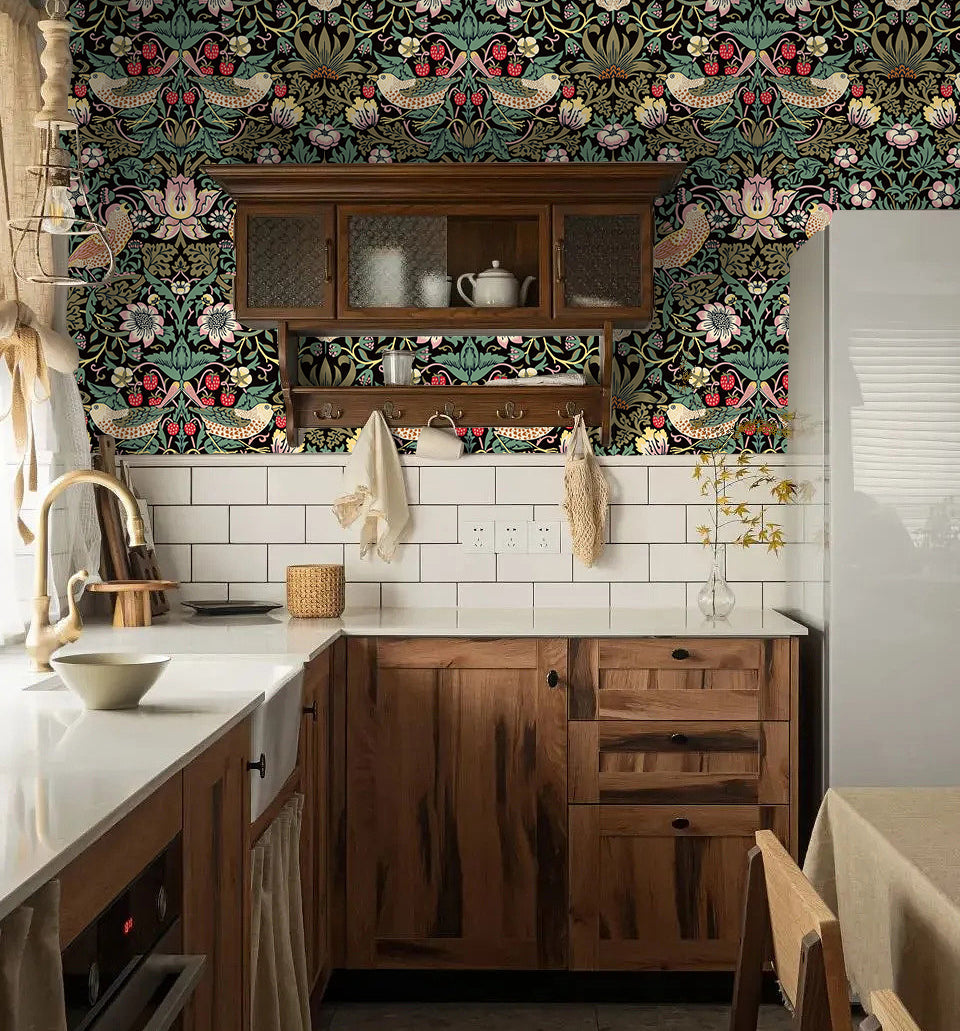
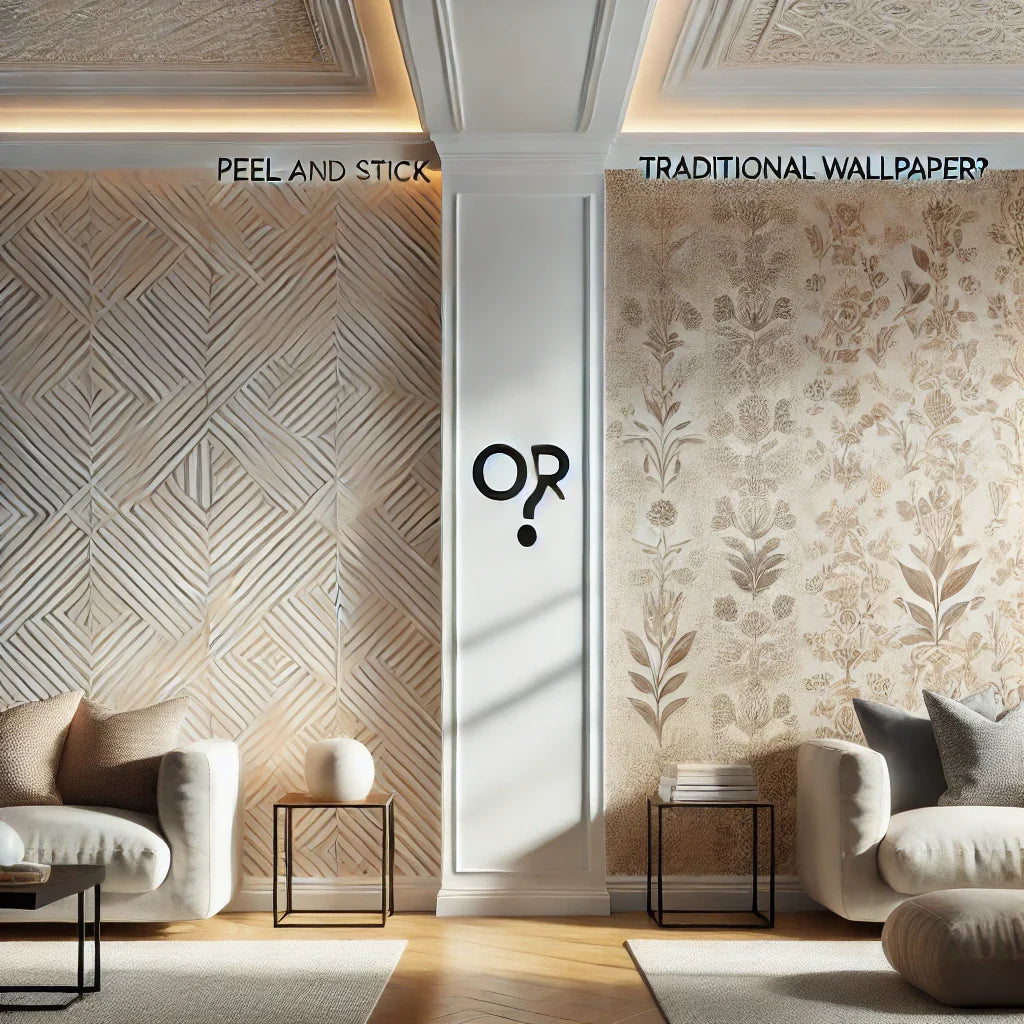
Unpasted wallpaper is the unsung hero of interior design. Unlike its pre-pasted counterpart, it gives you complete control over the adhesive process. This means fewer bubbles, smoother seams, and a finish that looks like it was done by a pro. Plus, the variety of designs and textures is staggering—from bold geometric patterns to delicate floral motifs, the options are endless.
What You’ll Need
Before you start, arm yourself with these essentials:
- Unpasted wallpaper
- Wallpaper adhesive (paste)
- A paste brush or roller
- A wallpaper smoothing brush or plastic smoother
- A utility knife or scissors
- A tape measure
- A level or plumb line
- A sponge or damp cloth
- A drop cloth or plastic sheeting (to protect your floors)
Step 1: Prepare Your Walls
- Clean the Surface: Wipe down your walls with a mild detergent and water. Dust, grease, or grime can prevent the wallpaper from sticking properly. Let the walls dry completely.
- Repair Imperfections: Fill any holes or cracks with spackle, then sand the area smooth. Uneven surfaces are the enemy of flawless wallpaper.
- Prime the Walls: Apply a primer to create a uniform surface. This not only helps the wallpaper adhere better but also makes future removal easier.
Step 2: Measure and Cut the Wallpaper
- Measure the Wall: Measure the height of your wall and add 2-3 inches extra for trimming.
- Cut the Wallpaper: Unroll the wallpaper and cut it into strips based on your measurements. Label each strip lightly with a pencil to keep track of the order.
Step 3: Apply the Adhesive
- Mix the Paste: Follow the manufacturer’s instructions to prepare the adhesive. Stir until it’s smooth and free of lumps.
- Apply the Paste: Lay the wallpaper strip face down on a clean, flat surface. Using a paste brush or roller, apply an even layer of adhesive to the back of the strip. Don’t skimp on the edges and corners!
- Book the Paper: Fold the pasted ends of the strip toward the center (without creasing) and let it sit for the recommended “booking” time (usually 5-10 minutes). This allows the adhesive to activate and the paper to expand slightly.
Step 4: Hang the Wallpaper
- Start with a Plumb Line: Use a level or plumb line to draw a straight vertical line on the wall. This is your guide to ensure the first strip hangs straight.
- Position the First Strip: Unfold the top half of the strip and align it with the plumb line. Smooth it down with a wallpaper brush or plastic smoother, working from the center outward to remove air bubbles.
- Trim the Excess: Use a utility knife or scissors to trim the excess paper at the top and bottom. Wipe away any adhesive residue with a damp sponge or cloth.
- Repeat the Process: Hang the next strip, aligning it with the first. Butt the edges together without overlapping. Repeat until the wall is covered.
Step 5: Finishing Touches
- Check for Bubbles: Smooth out any remaining bubbles or wrinkles with your smoothing tool.
- Clean Up: Wipe away any excess adhesive with a damp cloth. Be gentle to avoid damaging the wallpaper.
- Let It Dry: Allow the wallpaper to dry completely before moving furniture back into place or adding any decorations.
Pro Tips for a Flawless Finish
- Work in Small Sections: Hang one strip at a time to prevent the adhesive from drying out.
- Match Patterns Carefully: If your wallpaper has a pattern, take extra care to align it seamlessly between strips.
- Avoid Overlapping: Overlapping edges can create visible seams and make the wallpaper harder to smooth out.
- Be Patient: Take your time to ensure each step is done correctly. Rushing can lead to mistakes.
Conclusion
Hanging unpasted wallpaper doesn’t have to be intimidating. With the right preparation, tools, and techniques, you can achieve a professional-quality finish that transforms your space. Whether you’re updating a single accent wall or revamping an entire room, this guide will help you tackle the project with confidence.
Pushing the Limits of Perplexity and Burstiness
Now, let’s take this guide to the next level. Imagine this: you’re standing in a room, staring at a blank wall. It’s not just a wall—it’s a canvas, a blank slate waiting for your touch. The roll of unpasted wallpaper sits beside you, its pattern whispering promises of transformation. You take a deep breath, armed with your tools and newfound knowledge. This isn’t just about wallpaper—it’s about creating a space that reflects you.
Here’s the thing: hanging wallpaper isn’t just a task; it’s an art. It’s about precision, patience, and a little bit of creativity. When you apply that first strip, smoothing it down with care, you’re not just covering a wall—you’re crafting an experience. Every bubble you remove, every seam you align, is a step toward something beautiful.
And let’s talk about that moment when you step back and see the finished product. It’s not just a wall—it’s a statement. It’s the bold floral print that makes your living room feel like a garden, or the subtle geometric pattern that adds depth to your bedroom. It’s the texture that invites you to touch, the colors that make you smile.
So, take your time. Embrace the process. And remember, every strip of wallpaper you hang is a reflection of your vision. Whether you’re a seasoned DIYer or a first-time wall-coverer, this project is yours to own.
Subscribe to our blog for more home improvement tips and tricks.
Follow us on Instagram for daily inspiration and behind-the-scenes looks at our projects.
Now, go forth and transform your space. Your walls are waiting. 🎨✨